Showing posts with label altered frame. Show all posts

Sunday, 25 May 2014

Altered Baby Frame Off The Page...


A Visual Brainstorm !!!!
This will be the second Frame of the 2 Baby frames A lady has asked me to make for her...
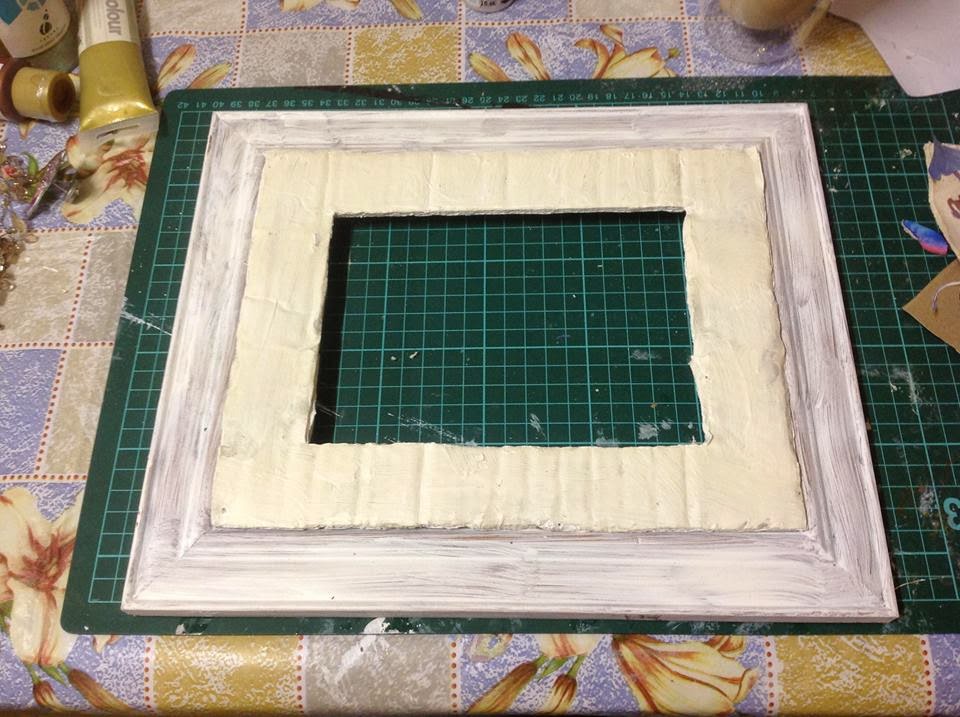
Altering the size of the photo area to allow for the layers to be added...
Planning and placing of layers
Centre frame after applying Gesso hearts/stars and Shimmer mists
Outer frame painted and sponged to create streaky effect
Its coming together now...
A recycled Aluminium can Butterfly ...
Curry eating Cat interrupts my crafting!!
Adding embellishments !!!!

Finished Creation !!!

Sunday, 11 May 2014

An Altered Baby Photo Frame...

I was asked by a Lady to create a frame for her Baby due in June... Sex unknown - so had to make it fairly neutral... First the frame needed priming...

Sponged paint and applied clear crackle paint for textured effect
Cutting out and trying different ideas...
Varnish cut outs
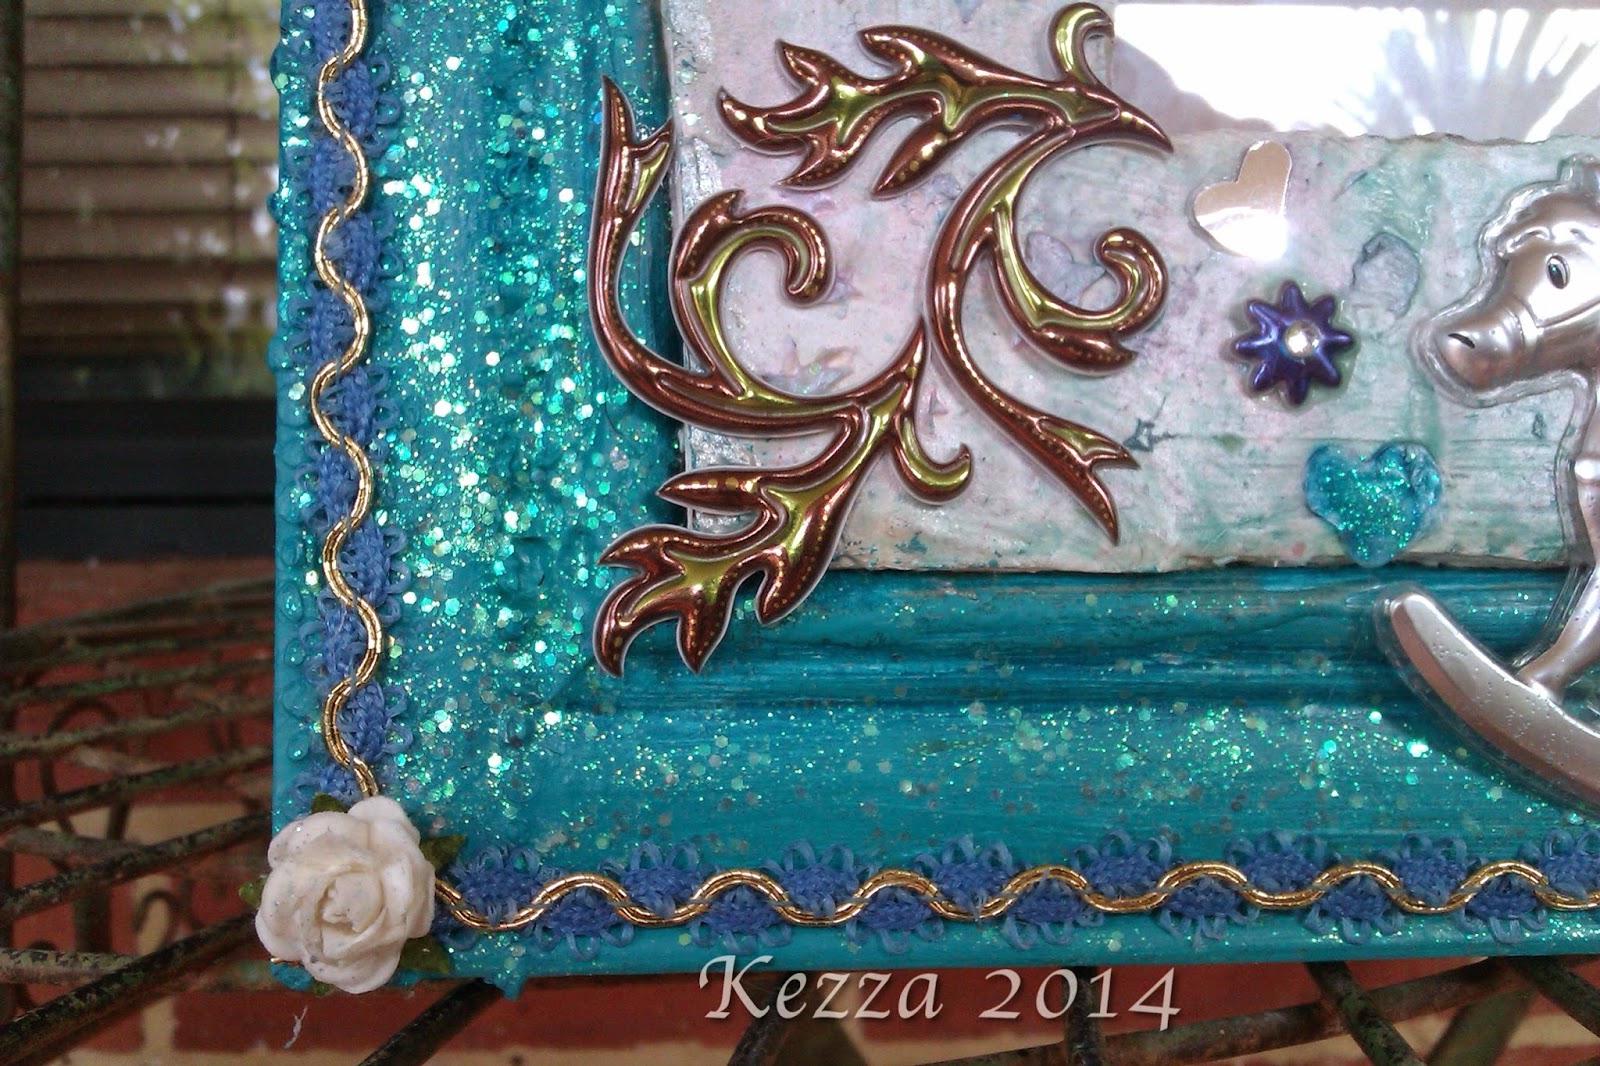
The Finished Baby Frame...

Wednesday, 23 April 2014

Altered Frame - Mirror

The beginning of my project... remove mirror and commence covering with tissue paste of which I'm adhering to the frame with modelling paste to give the crinkles a bit more depth...
Then seal the layer of paper before commencing paint...
Hand made sponge for sponging frame with white paint 
Now for the fun...stamps and stencils, ink and paint ...again used the sponge tool here...
Modelling paste with Stencils ...more drying...
Added metallic paint to the dried paste and resealed entire frame before beginning with embellishments...
Altered Frame...
Altered Frame


Tuesday, 15 April 2014

Altered Frame *SOLD*


Bringing to life an old Calendar picture by cutting the horse images out and repasting on to cardboard then canvas to give depth and using glitter to accentuate the sea spray...
This item has been sold.

Sunday, 13 April 2014

Altered Frame from Scratch *GIFTED*

The Original Photo frame As it was......
 A scroll made out of handmade paper - distressed with a distressing tool and a touch of flame to achieve the charred old look, and of course I will use old style writing to suit!
The working out stage and maybe a change of colour...
Here I have used Gesso for texture with stencils...A dark Blue Acrylic Paint base followed with a lighter blue and a finish with my favourite green shimmer paint... 

Ceramic, Metal and paper flowers with both round and flatback pearls used as fillers. Mulberry paper leaves painted with acrylic and finished with gold shimmer spray. Mussel Shell Coin beads help create depth and a rose gold enamel  white rhinestone flower adds some bling!
I have made a second scroll again with methods mentioned above and added a couple of flowers to balance the floral theme.... I have left more of the stencil leaves showing on this side to emphasise the texture...
With the addition of a couple of Dragonflies, Cats and a blingy peacock  this is The finished Product!!
All ready to be gifted to a special friend tomorrow.....


Thanks for passing by and leaving a comment !! Please follow my Blog also thanks Hugs Kerry XX.